7+ Hot Cross Buns Article

Hello everybody, hope you are having an amazing day today. Today, we're going to prepare a distinctive dish, Hot cross buns. One of my favorites. For mine, I am going to make it a bit unique. This is gonna smell and look delicious.
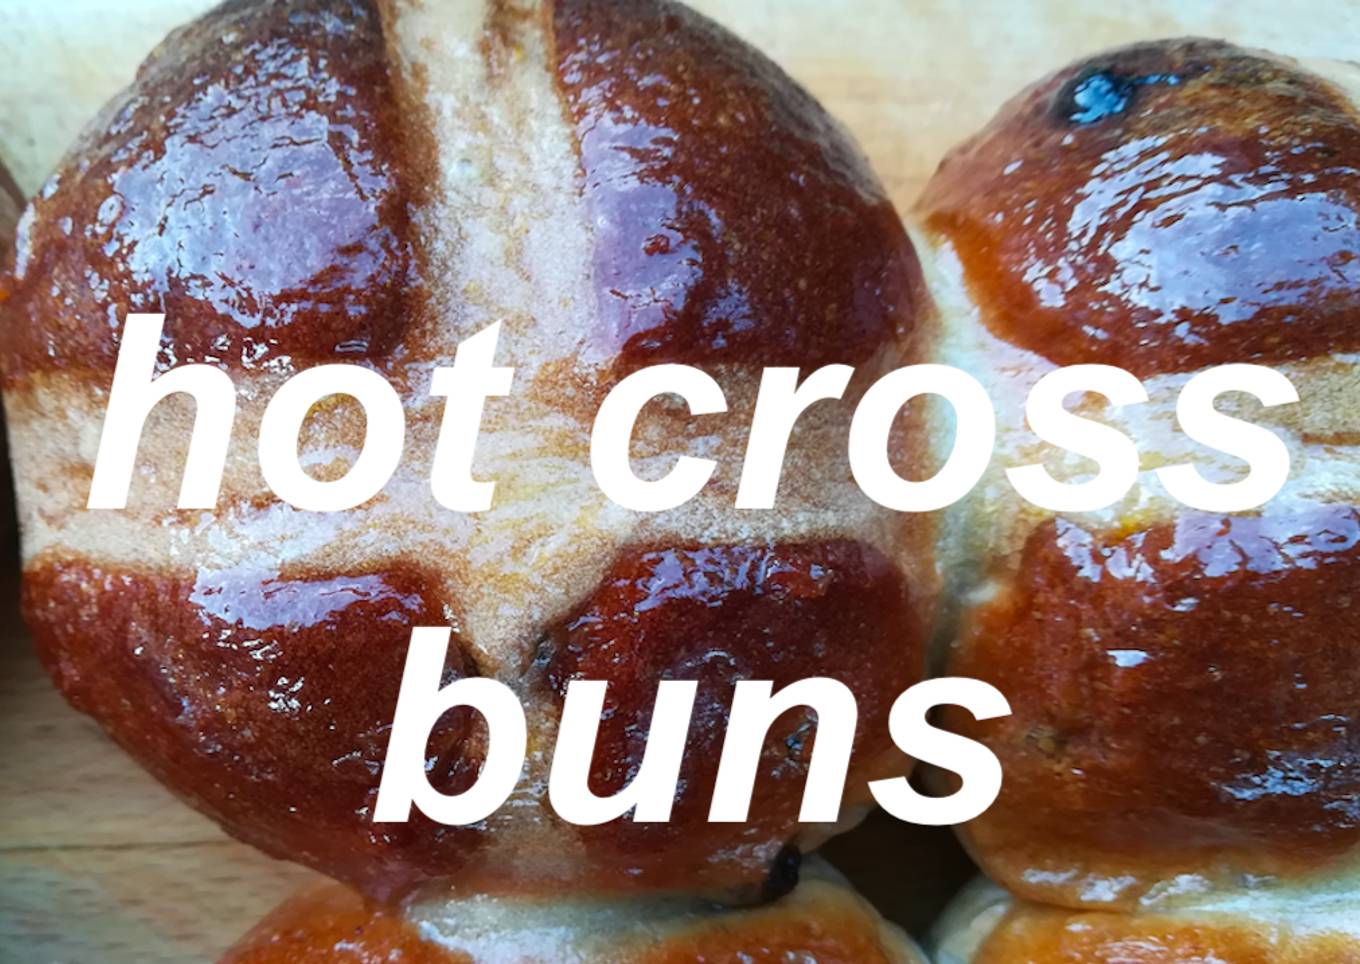
Hot cross buns is one of the most popular of recent trending meals on earth. It's enjoyed by millions every day. It is easy, it is quick, it tastes delicious. Hot cross buns is something which I've loved my whole life. They're nice and they look wonderful.
Many things affect the quality of taste from Hot cross buns, starting from the type of ingredients, then the selection of fresh ingredients, the ability to cut dishes to how to make and serve them. Don't worry if you want to prepare Hot cross buns delicious at home, because if you already know the trick then this dish can be used as an extraordinary special treat.
As for the number of servings that can be served to make Hot cross buns is 6 servings. So make sure this portion is enough to serve for yourself and your beloved family.
Just in addition, the time it takes to cook Hot cross buns estimated approx 2 hours.
To get started with this recipe, we have to first prepare a few ingredients. You can have Hot cross buns using 14 ingredients and 16 steps. Here is how you can achieve it.
It's close to Easter, so here's my favourite hot cross bun recipe, hope you like
Ingredients and spices that need to be Get to make Hot cross buns:
- 500 g strong bread flour
- 75 g caster sugar
- 2 tsp mixed spice
- 1 tsp cinnamon
- zest of 1 lemon
- 10 g salt
- 10 g dried yeast
- 40 g unsalted butter
- 300 ml milk
- 1 egg
- 200 g currents or sulatnas
- 50 g mixed peel
- for the crosses 75g plain flour + a little cold water
- 2 tbsp apricot jam or golden syrup
Instructions to make to make Hot cross buns
- Warm the milk to blood temperature, sift the flour and grate in the lemon zest to the flour.


- Add the spices and salt to the flour, when the milk is luke warm add the yeast and sugar, and leave the milk for 10 minutes or until the yeast activates and gets foamy.


- When the milk mixture is foamy add it to the flour, then add the melted butter and the egg.


- Mix the dough with your hands in the bowl for a minute before tipping onto your work surface and start to knead. It is a really sticky dough so you will get messy, or use a stand mixer with a dough hook if you prefer. you can add some flour as you knead for about 10 minutes but do try to only add a little at a time when you just can't handle the mess, try to use a bench scraper with one hand and slap the dough onto the work surface then scoop it up and slap it down again.


- In these images you can see me using a bench scraper, dusting my hand with flour to make the sticky dough more manageable and after several minutes the dough starts to develop glutens and it much easier to knead, I like to push it away from me, scoop it up and fold it back over then repeat.


- When the dough is fully kneaded and slightly elastic, roll it out to a disc, add the dried fruit in the centre then fold the edges into the centre


- When the edges have completely encased the fruit, continue to knead for a few more minutes. It is ready when the fruit starts to come out and you feel the fruit is evenly distributed throughout the dough


- Time to proof the dough, lightly oil a bowl, turn the dough around in the bowl to coat it with the oil, then cover with a plate or some cling film. proof it until it has risen well and is puffy, turn it out onto a floured surface


- Punch the dough back, form it into a ball then divide it up as evenly as you can into quarters


- Divide the quarters into 3 to create 12 balls of dough, shape them with a cupped hand into smooth balls, this technique takes a little practice but just try to get them as smooth as you can


- Arrange the balls on baking trays with a small gap but close enough so that when they proof again they will just tough each other, this creates what's called a kissing crust when they bake. Drape some oiled cling film very delicately over the top making sure that is isn't tight, I like to lift the plastic up a little like a tent so that the buns can rise properly.


- While the buns are proofing again, make the flour paste which forms the cross, add some cold water to some plain flour and beat until you have a smooth but thick enough paste that you can pipe onto the buns. The consistency should be like a double cream


- I like to put a plastic piping bag into a glass which makes pouring the paste into it easier, you can also use a plastic bag, snip of the end to give a small hole to pipe, then pipe across the buns in a straight line


- Here's a better view of piping the crosses onto the buns, making sure that you dip the end of the piping bag down into the gap where the buns meet, this makes sure that the cross covers the whole bun when the bake. then turn the tray 90 degrees and complete the crosses. Preheat you oven to 200c or 392f


- They should take around 20 minutes to bake, you can give their bottoms a tap for that slight hollow sound, let them cool on a wire rack. While they are cooling down warm up the apricot jam with a splash of water in it and brush this liberally over the buns to give them the most gorgeous glaze. When they have completely cooled you can tear them apart, you can see that kissing crust in the last image


- Now just cut one in half, spread some butter on it and get stuck in. These images are taken from my YouTube video, if you like why not check it out?
https://www.youtube.com/watch?v=Omw3G1R0xko&t=528s


As your experience and also confidence expands, you will certainly discover that you have extra natural control over your diet plan and also adjust your diet plan to your individual preferences in time. Whether you intend to offer a recipe that uses less or even more ingredients or is a little bit more or less spicy, you can make basic modifications to attain this objective. Simply put, begin making your dishes on schedule. As for basic food preparation skills for beginners you don't need to discover them but only if you master some easy cooking methods.
This isn't a complete guide to fast as well as simple lunch dishes yet its excellent food for thought. Ideally this will get your imaginative juices flowing so you can prepare tasty meals for your family without doing too many heavy meals on your trip.
So that is going to wrap this up for this exceptional food Simple Way to Make Quick Hot cross buns. Thanks so much for reading. I'm sure that you can make this at home. There's gonna be more interesting food at home recipes coming up. Remember to save this page on your browser, and share it to your loved ones, friends and colleague. Thanks again for reading. Go on get cooking!